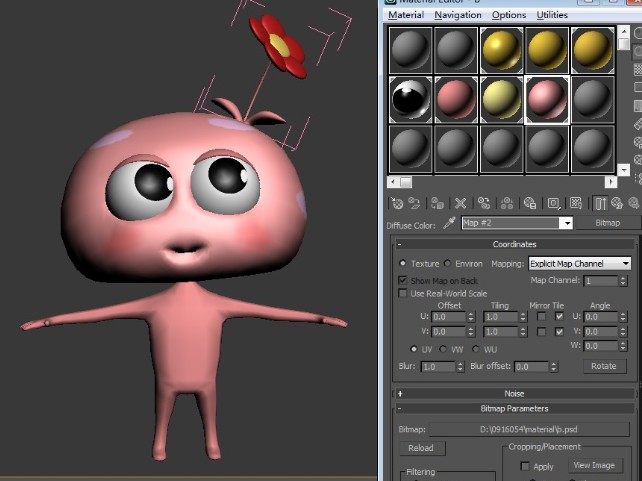
Select the Create Systems Biped menu command and drag in place of perspective viewport.
Select Classic from the Body Type drop-down list.
And set the number of links used to represent the body parts follows:
Neck Links: 1
Spine Links: 4
Leg Links: 3
Fingers: 5
Finger Links: 3
Toes: 1
Toe Links: 3
Select the bones, click Figure Mode in the beneath the ‘biped’ plan in the Motion to modify the bones.
Set the ‘center’ bones in place the pelvis for the mouse in the Front View.
Select the toes in place for the mouse.
Select bones and modify in place for the model by Move. And make all bones and the mouse to match by Select and Uniform Scale.
The modification in order: each spine, clavicle, upper arm in left, forearm in left, hand and finger in left.
Then select Past Posture Opposite after click Copy Posture after click Create Collection button in the Motion.
Select Paste Posture Opposite button to copy the left bones.
(Motion – Copy/Paste – Create – Copy Posture – Paste Posture Opposite.)
Select the model and chosen the Physique from Modifier List. And click the Envelope under physique.
Used the Move tool to move the point of bone that edited the sharp of envelop. And Rotate the bone according the sharp.
Before the work, I select the model and clicked to clear the option of Show Frozen in Gray. Then, select freeze selection.


